Whether you need to collect employees' take-out orders for a team dinner or create a feedback form for customers, Google Forms is undoubtedly one of the most useful free tools at your disposal.
Google Forms provides 17 pre-made templates, varying in subject from "Party Invite" to "Time Off Request". However, if you've never made a Google Form before, the process can seem complicated.
To ensure you know about all the nifty features on a Google Form and have the knowledge necessary to create your own Google Form in minutes, take a look at our quick tutorial.

How to Create Your Own Google Form
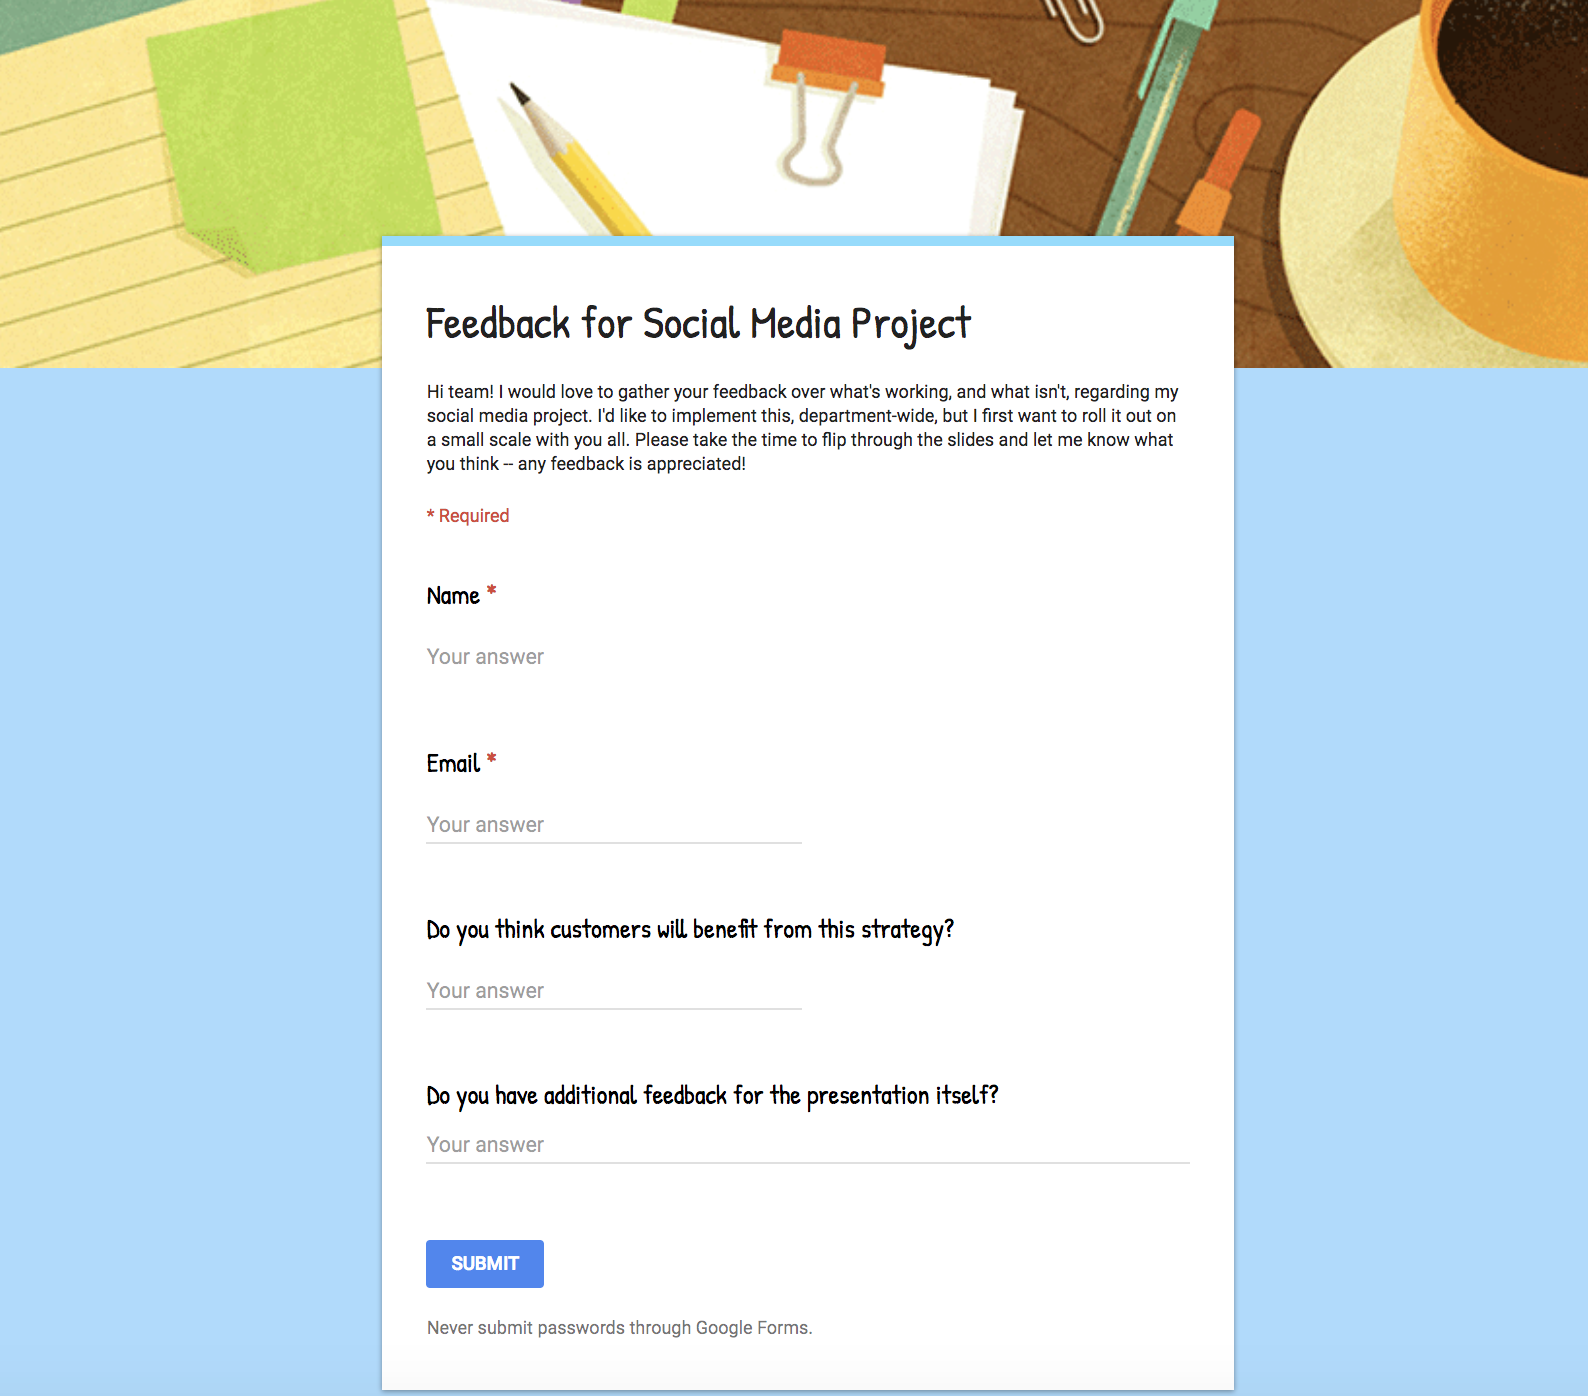
Let's say you're in charge of a new social media project and want your team's feedback on it.
To create a form for collecting feedback (although you can follow these steps to create a form for almost anything), go to Google Forms and click "Template Gallery" to see the full display.
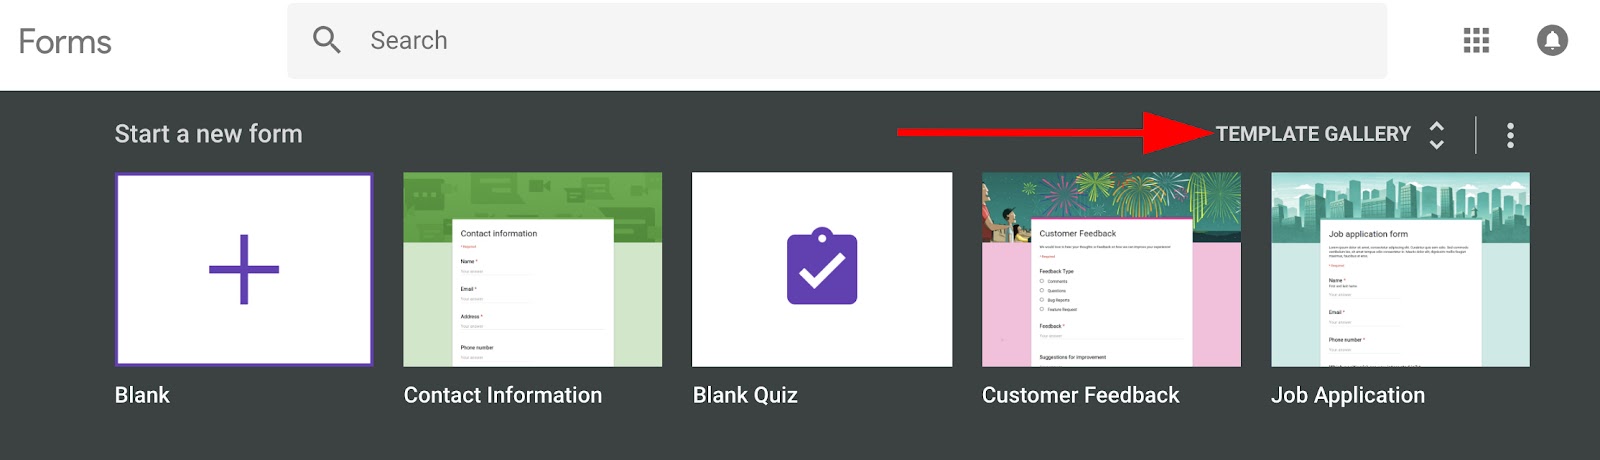
For our purposes, I chose the "Contact Information" template, under the "Personal" category.
Once you choose a template, follow these steps:
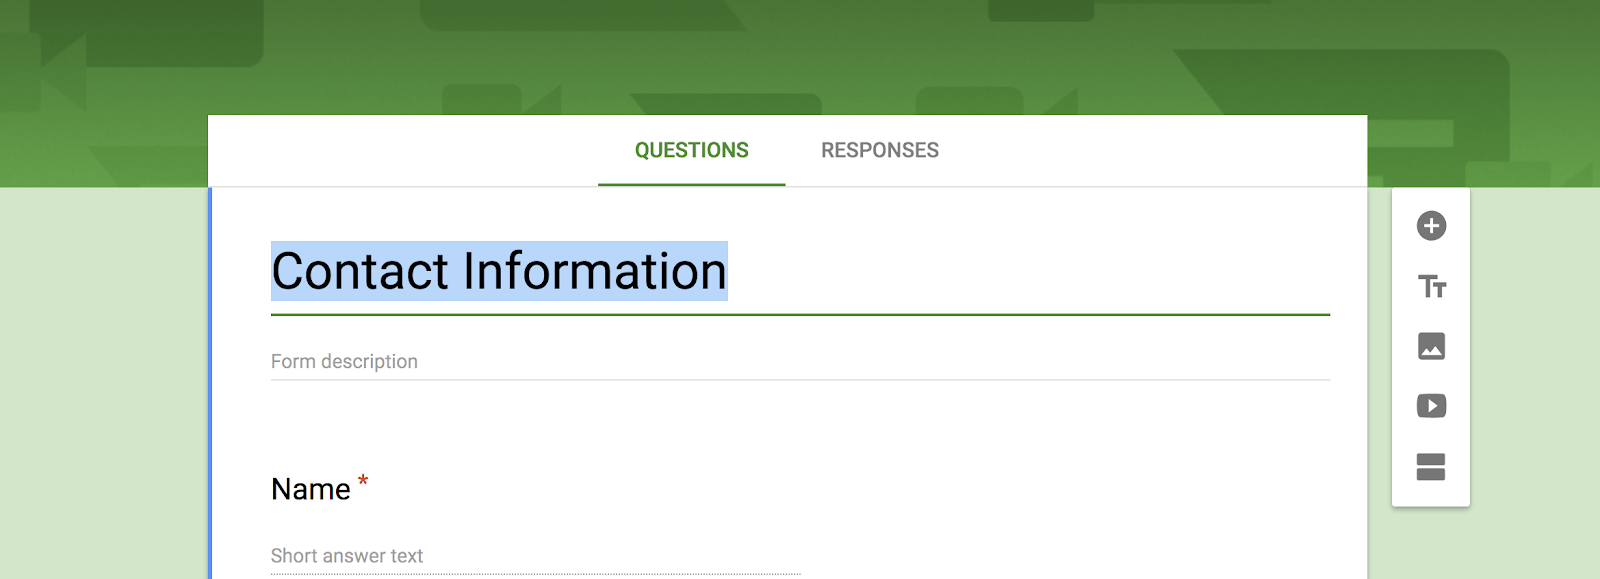
1. Rename your form by clicking "Contact Information" and typing your desired title. Additionally, you have the option to input text in the "Form description" space -- this is a good section to include a description of what you're hoping to get out of this form, and why you're requiring recipients to fill it out in the first place.
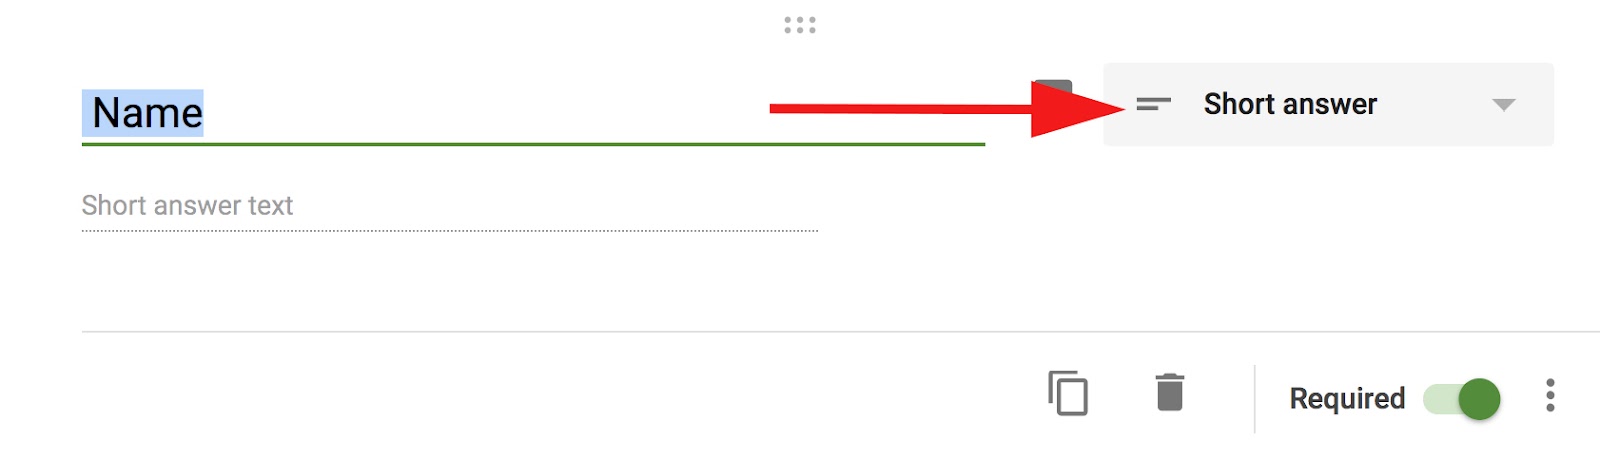
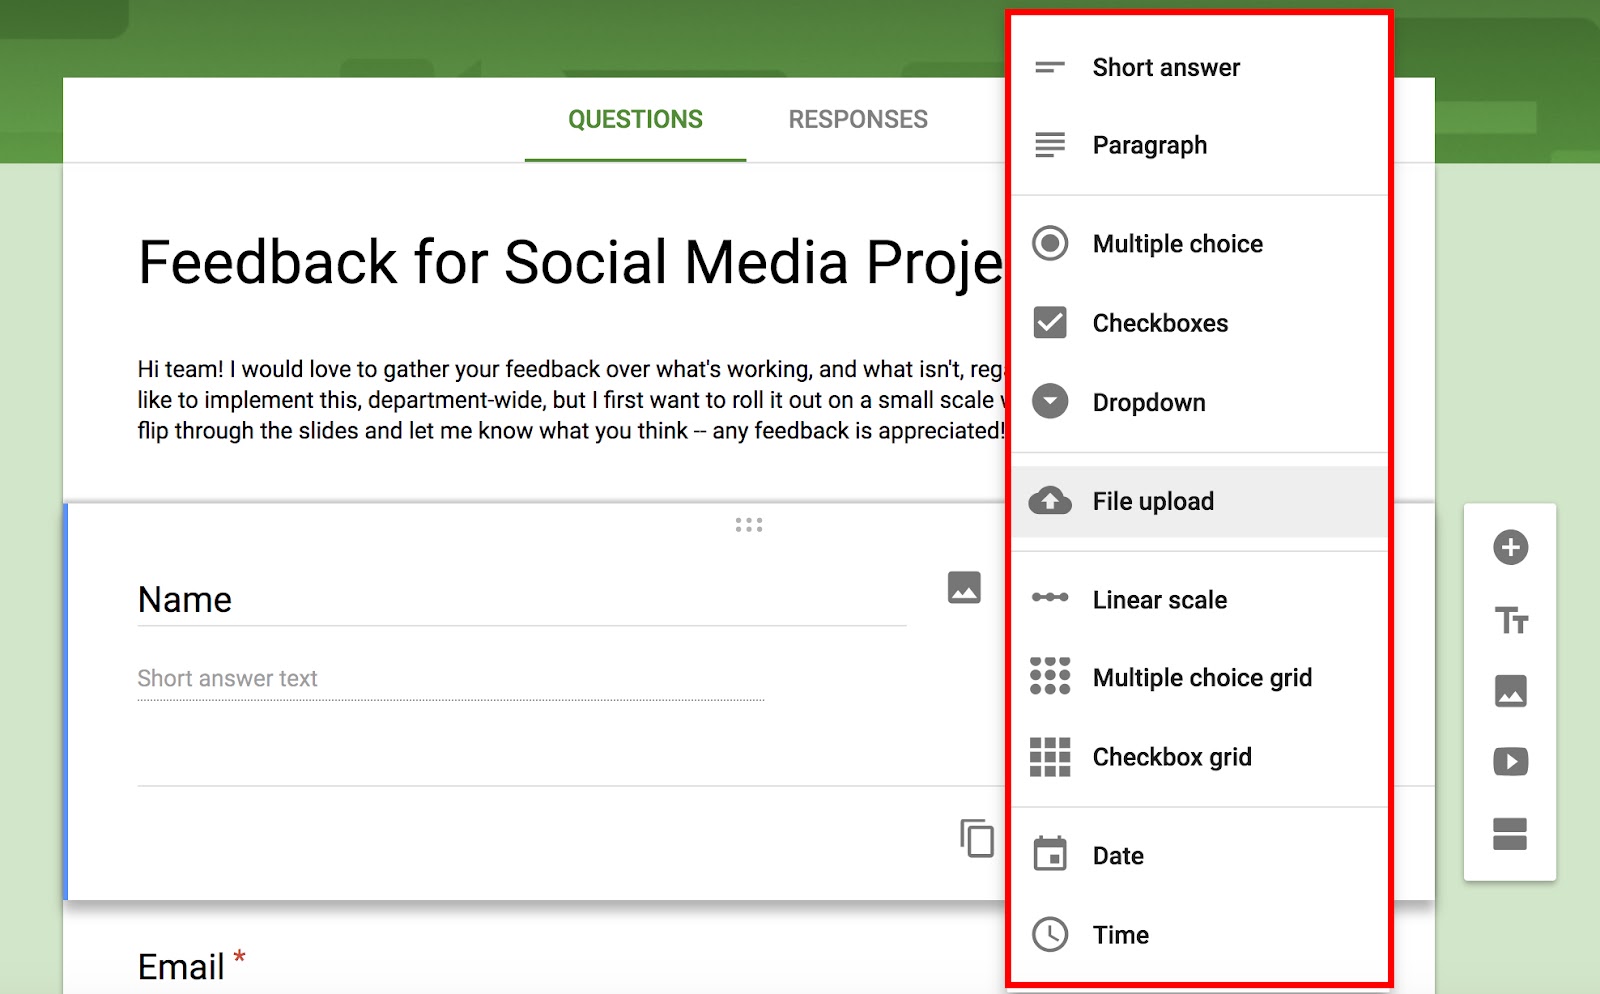
2. There are different features incorporated into each module, or section of the form. For instance, you can click the scroll-down bar on the top right to choose how you want to style each module -- including short or long answer, multiple choice, grid, or file upload.
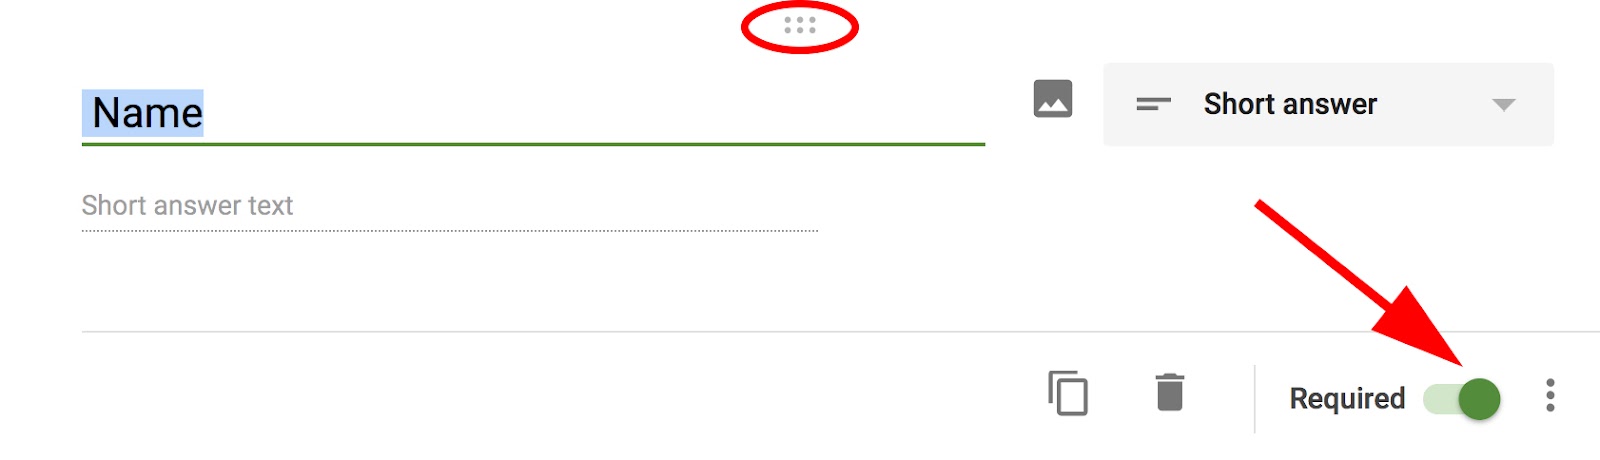
3. Additionally, there's an icon at the top of each module (six grey dots) -- if you click it, you can drag the module to another area of the form.
At the bottom of the module, there's a "Required" button, with a drag tool beside it. If the tool is dragged to the right (and green), you're making it a requirement for form applicants to fill out this module. If you drag the circle to the left (and make it grey), it's no longer required.
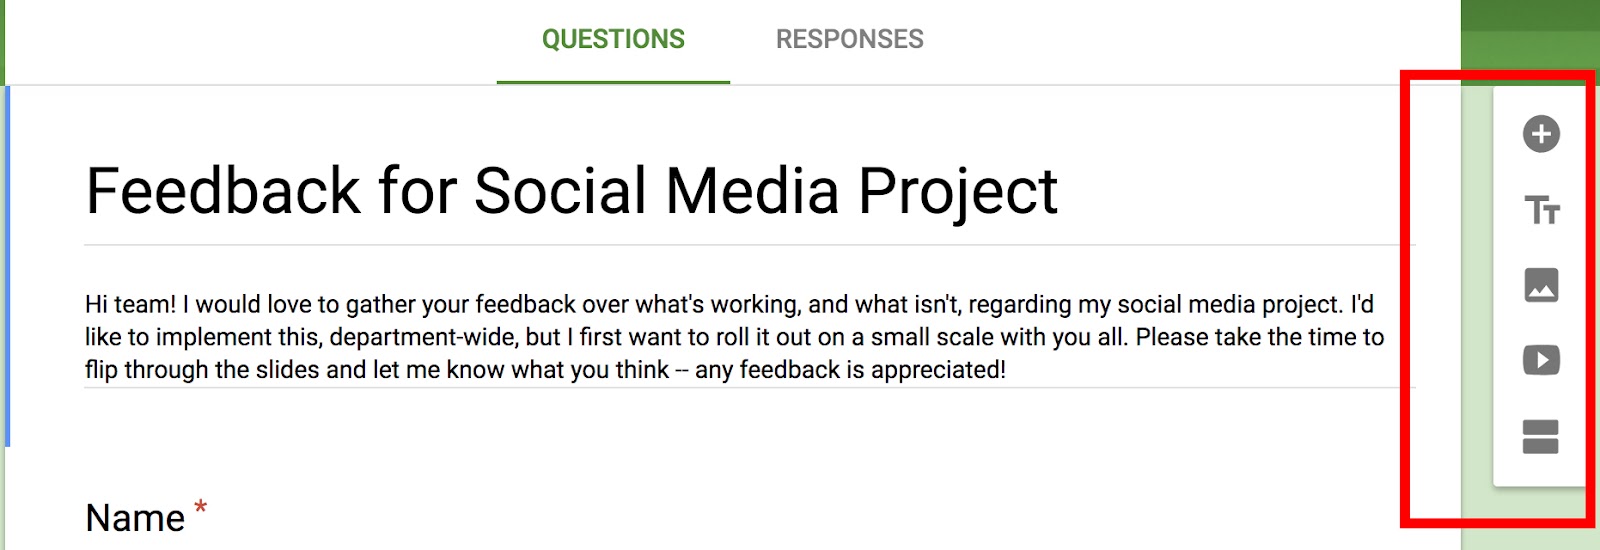
4. It's important to note, you also have a toolbar on the right side of your screen. At the top, the "+" icon allows you to add a question. Below, the "Tt" icon lets you create another Title and description -- if you have a longer form with multiple sections, you might use that tool to separate the sections.
The remaining three icons allow you to add an image, video, or section (respectively).
5. Once you've renamed and configured your modules on the form to ensure you're asking all the questions you want to ask, you can work on the design of the form itself.
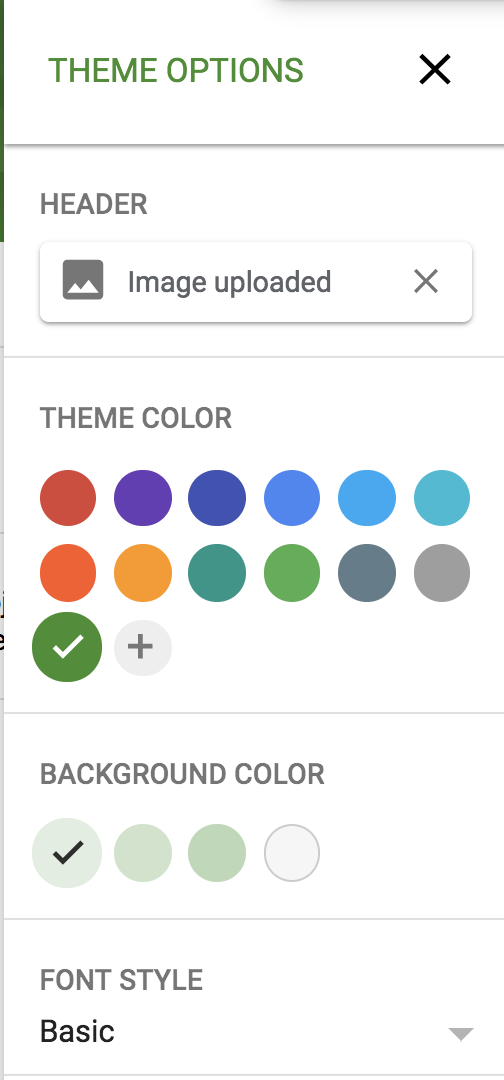
To do this, click the "Customize Theme" paint icon at the top right.

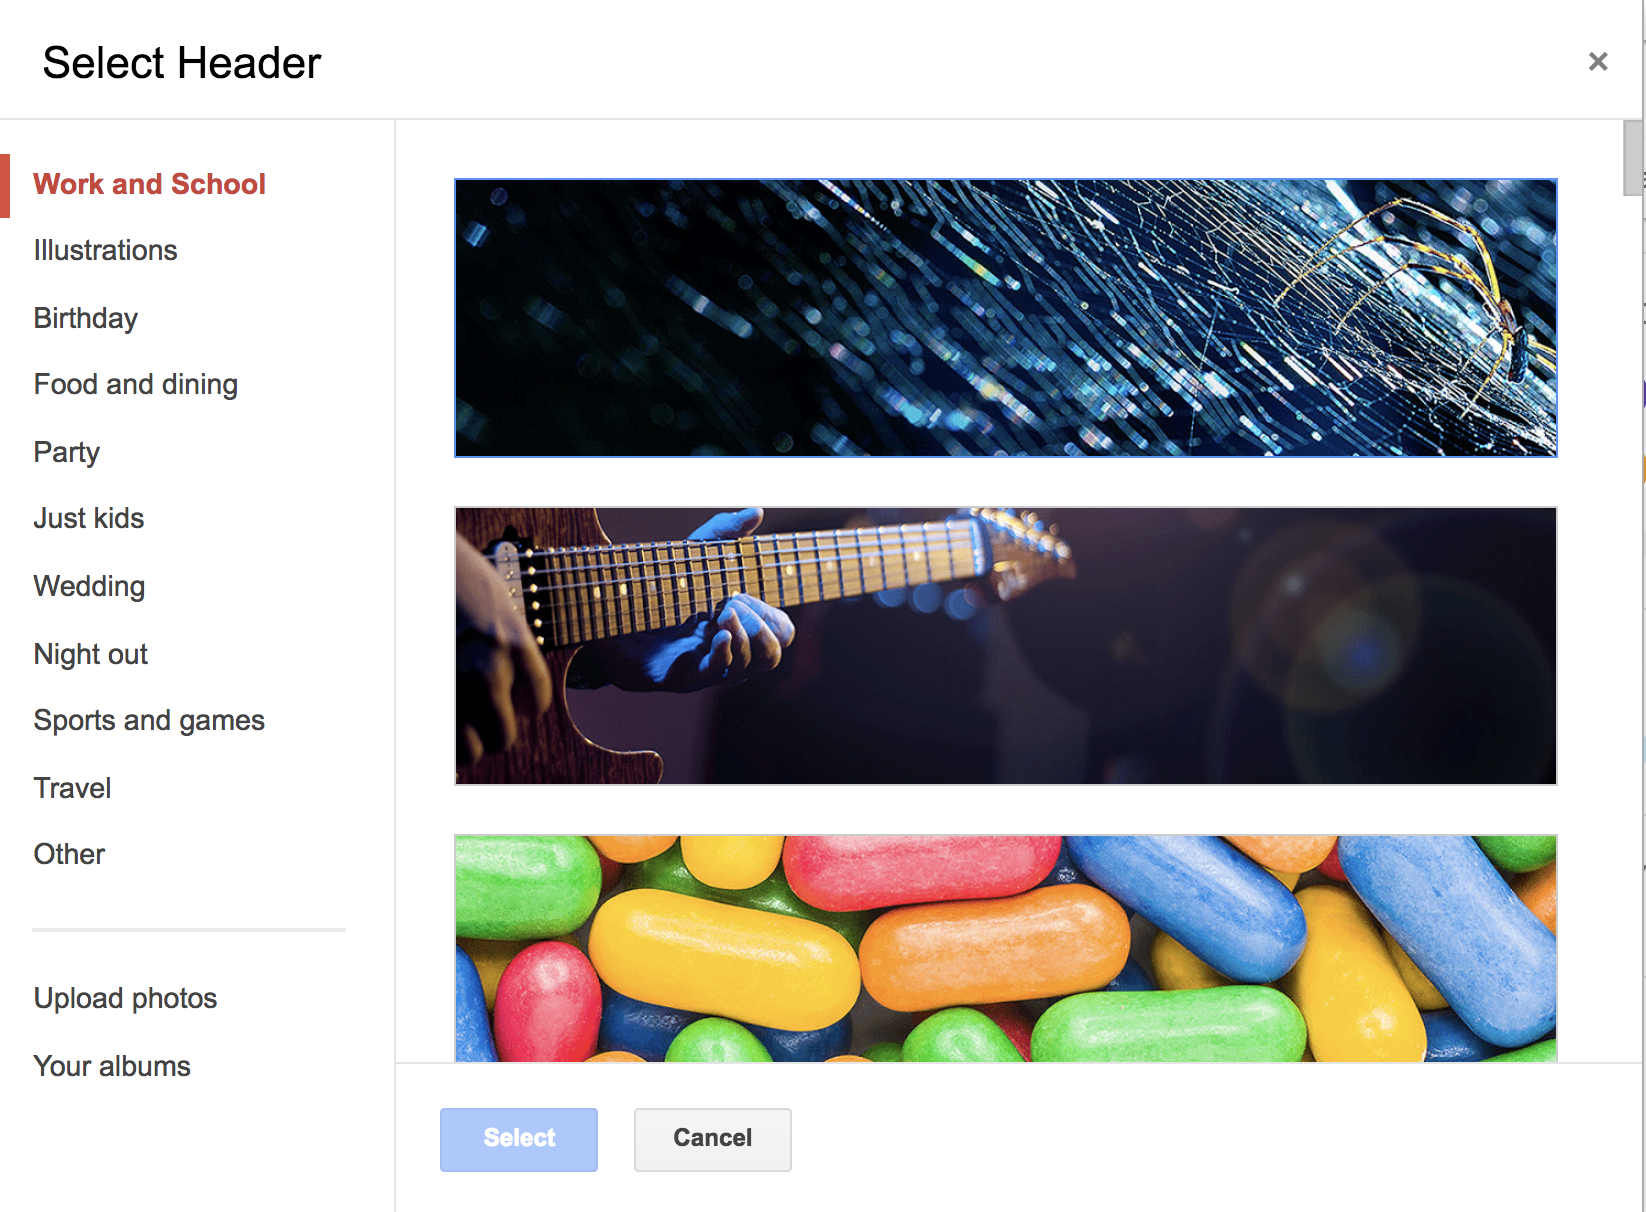
6. Here, you can change the color theme of your entire form, and add an image for the header -- you can upload your own image, or use one of Google Form's header images, found in their library. You can also change the font.
 7. When you're finished, you can "Preview" your form by clicking the eye icon in the top right.
8. When you're happy with your form, click the "Send" button at the top right.

9. Here, you'll want to type the email addresses to which you want to send the form. You also have the option to embed the form in the email itself (or provide a link), add collaborators, and include a message. When you're ready, press "Send" in the bottom right.

And there you have it! In nine easy steps, you're able to create a personalized, unique form, and send it to recipients. However, this only scratches the surface of what you're able to do with different Google Form Templates. To learn more about Google Forms' features, tools, and functions, take a look at our "Ultimate Guide to Google Forms".

No comments:
Post a Comment